In class I just taught a technique for "finding" your subject, using a photo of petunias. The first few photos are of my demo.
 |
We sprayed water on the paper.
Then, using the photo reference, paint was applied loosely in the general shape of the flowers.
The class chose to do blue petunias, so I applied various shades of blue,
some violets and pinks for the flower areas and greens, blues and yellow for the green around the flowers. |
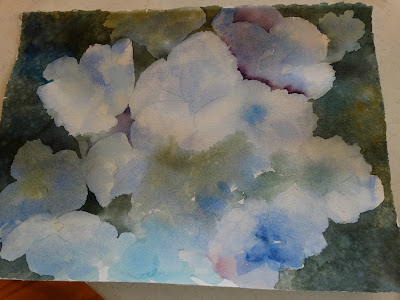 |
When the first layer of color was dry, I began "finding" petunias.
You have to use your imagination - and your photo is simply a beginning reference point.
At first you think you don't see any flowers, but all of a sudden they begin to appear!
Then I deepened the greenery around the flowers, and adding some areas of shadow within the flowers.
At this point, I only want to indicate the flowers through the use of negative painting. |
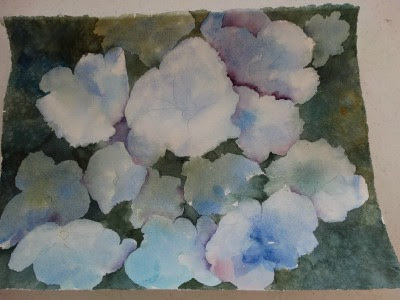 |
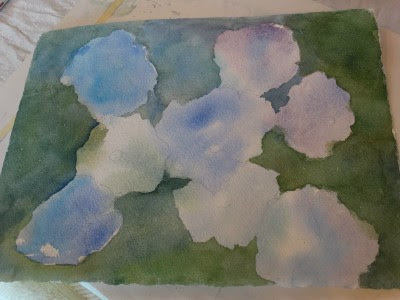
| Here is how the day ended - with the flowers indicated. The background may or may not be complete. |
Now here are some of the students' work:
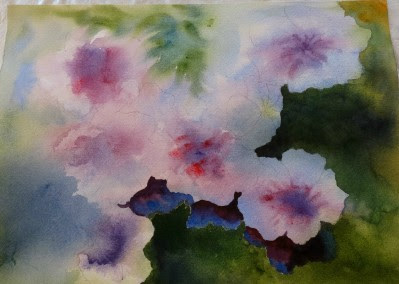 |
| You can see how she has begun finding her flowers, and has even added some of the centers. |
 |
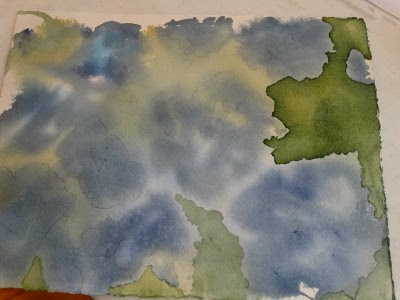
| More petunias being found! |
 |
| And more! |


5 comments:
LOVE this!
Beautiful work by you and your students, too! I'm not good at "finding" things in my paint-strewn paper. Funny, maybe as a kid I never spent time looking for things in clouds enough??
Had to really use your imagination on this - hope to have another post with completed paintings soon.
That's a really valuable lesson... and very insightful of you to know how important it would be for your students to know about this technique! I do the same thing when I'm drawing anything with texture, like my trees, etc. I let the pencils start to do their thing, and then I respond to the marks that I've put down, and let them shape what seems most natural. This is so beautiful, what you've done!
Deb - this is a super demonstration. Love your negative lesson. Your work always inspires me. Speaking of inspiration your painting in the Artist Magazine is over the top. Just beautiful. Have a great week.
Post a Comment